Driveaway Awnings: How to disconnect and connect
One of the joys of having a Driveway awning is the freedom it brings.
Leaving your pitch with ease, ready for a day of exploring to return and set up in minutes.
In this video, Mike shares his tips and tricks to disconnect and reconnect a driveaway awning. Read on to discover our full step-by-step guide so you can feel like a pro on the campsite!
Disconnecting your Driveaway Awning
Step One
Slack off all tunnel attachments and remove the pegs which are next to/under the vehicle
Step Two
Remove your fixing kit by either winding your cassette awning (to take the tension off the tunnel ) or sliding the figure of 8 strips off your awning rail. When removing the figure 8 clips, Mike recommends working from one end to the other by pulling the awning fabric through and pushing the plastic clips in the opposite direction. You can store these in the main body of your awning while away.
Step Three
Next, roll your connection tunnel fabric and secure it. To do this, Mike recommends starting with the middle section. Roll the fabric underneath itself to prevent fabric folds and rain from collecting while you're away. Toggle in place to keep it secure and avoid it catching in heavy wind. Repeat until all fabric is secured.
Step Four
If there is a groundsheet where the tunnel once was, we’d recommend folding/packing it away; otherwise, rainwater will collect on it while you are away. Make sure your door into the main body of the awning is fully zipped up.
Step Five
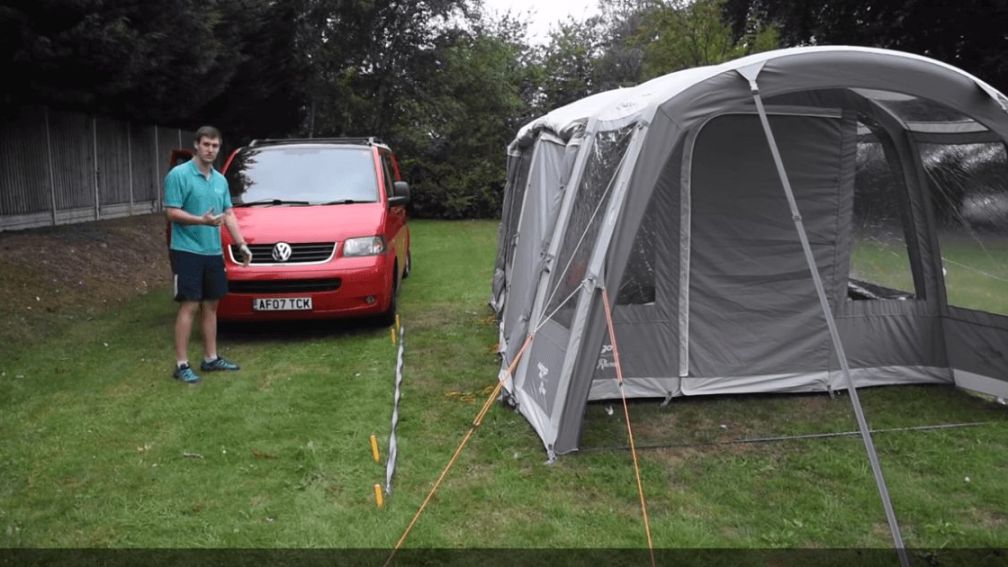
Now you will be ready to drive away, but before you do so, Mike recommends to ear mark your vehicle's front and back wheels. Use 4 pegs in the ground, which will act as a visual guide when you return to the site.
Step Six
Once the vehicle has been moved, peg your guylines back out to add support where the vehicle once was.
Re-connecting your vehicle
Step One
Firstly, you will need to line your vehicle up with the pre-pegged guidelines. If you're travelling solo, edge the vehicle in and keep checking your line. If you're travelling with others, one person guides you into the space, making sure you are in line with your pegs.
Step Two
Find your figure of 8’s stored in your awning and unbuckle your fabric
Step Three
Mike recommends double-checking the position by tensioning the fabric tunnel to your vehicle. If you're lined up with the pegs, you should be in the perfect position. If not, adjust your vehicle position.
Step Four
If you have a wind-out awning, you can unwind it, connect your fixing kit, and then wind the cassette awning back in. On a normal rail, it is best to feed on the first figure of 8 strip whilst holding the fabric in position. Mike recommends starting with the front, then the back.
Step Five
Remove your pegged parking guide and re-peg the bottom parts of the awning fabric under the vehicle. Tighten the adjustable straps on the tunnels height to create a nice tension in the fabric.
Step Six
Finally, check the tension is good all over, your door is clear, and all pegging points are secure. Ready for your next driveaway adventure!
A final note from us
So that completes our step-by-step guide on how to disconnect and reconnect your DriveAway awning. We hope you have found our video and guide helpful. For all the latest tips and tricks, be sure to follow our social channels, linked below.
![]()
![]()
![]()
![]()
SHOP DRIVEAWAY AWNINGS
SHOP DRIVEAWAY AWNING ACCESSORIES
We’re always on hand to offer help and advice on driveaway awnings, give our superstore a call on 01452 742233 or send us an email on camping@attwoolls.magento24.sozowebdesign.com and we will do our best to help you.