How to Pitch an Inflatable Awning
New to Caravanning and looking for advice? Pitch your Inflatable Awning like a pro!
Mike shares his tips and tricks on how to pitch an Inflatable Awning ahead of your holiday. Read on to discover our complete step-by-step, ready for you need that extra advice on the campsite!
To demonstrate this process we are using the Vango Kelahari 420 for this video. You can use this method for most air awnings including Kampa, Sunncamp and Dometic. We recommend to also have with you: V -shaped pegs, metal pegs or rock pegs on hard standing ground.
You will need:
- Inflatable Awning of choice
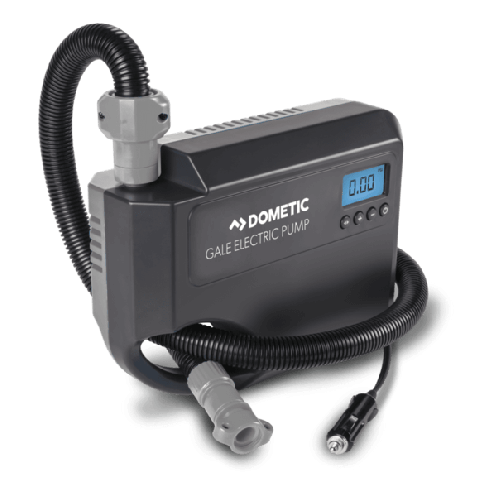
- Pump
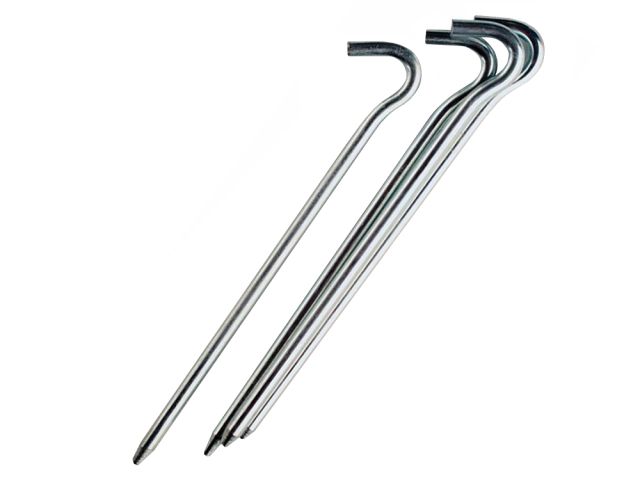
- Tent Pegs
Step One
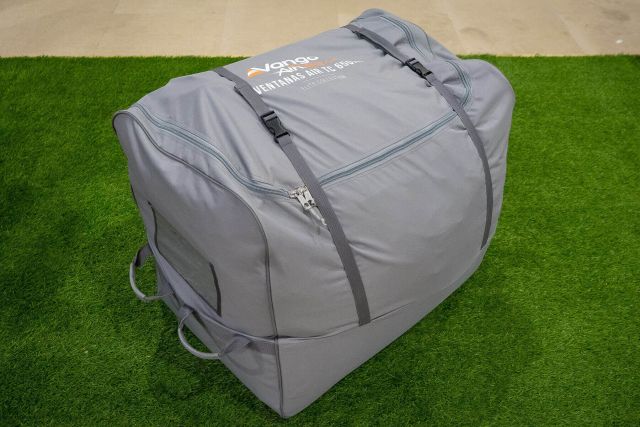
Remove the awning from the bag and separate on the ground so you can see all components. Lay the Awning the correct way to easily attach to your vehicle.
Step Two
Next you will be attaching the awning to the vehicle. You want to get as much fabric under the rail, to make it easily slide through. You may wish to grad a buddy for this step, but feed the kador strip through the awning rail, ensuring no fabric gets caught in motion.
Step Three
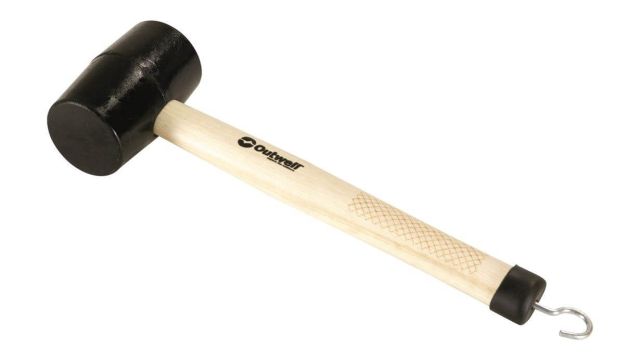
At this stage, you need to determine where your awning will be positioned. Don't obstruct windows and doors before proceeding. Once you have chosen your position, you need to peg the back of the awning down to the vehicle. This will stop any drafts. Using a mallet and pegs, peg the awning at a 45 degree angle in a straight line down the bottom of the vehicle. You may wish to tuck is slightly under to get a better fit. Repeat for both sides.
Step Four
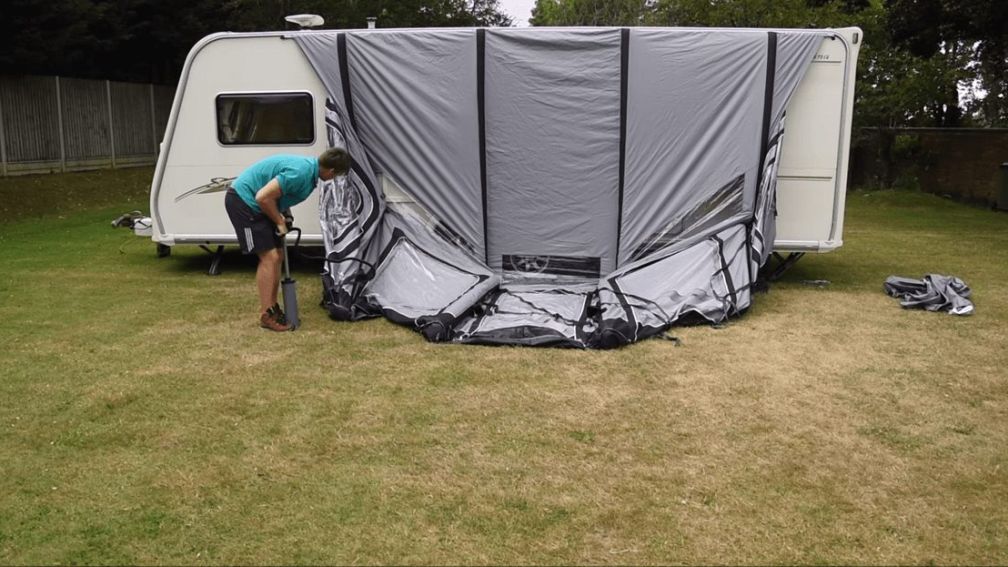
Now your awning is secure, you will need to pump the air tubes. Mike recommends to start at the middle inflation points, pump the beams to the full pressure and repeat until all air beams have been inflated. Mike is using a manual pump on this occasion, but you can use an electric pump and let it do the work.
Step Five
Next, pull out the inflated beams to view the structure of your awning. You may wish to ask a buddy to help push open the structure inside the awning. In order to get a nice, flat shape, Mike recommends to now peg the two side pegging points. Always peg at a 45 degree angle and away from the vehicle so the awning holds firm.
Step Six
Now peg your front points, peg where its comfortable. and ensure your roof is not too flat as it will collect water. To give the awning strength you will need to peg the storm straps too. This is a must in windy weather and can be an optional extra when purchasing an awning. Storm straps create a strong structure against wind. Repeat until all storm straps are pegged.
Step Severn
Finally, you will need to peg the base of your inflatable awning. Again, peg at a 45 degree angle and in straight lines and even around your awning. Adjust the pegging straps where needs be.
Step Eight
If you have a Vango product you will have bracer beams. They will need inflating and positioned inside the awning to offer more rigidity. If you have a Kampa Awning these are already fitted and you don't need to inflate.
A final note from us
So that completes our step-by-step guide on how to pitch an Inflatable Awning. We hope you have found our video and guide helpful. For all the latest tips and tricks, make sure you're following our social channels linked below.
![]()
![]()
![]()
![]()