Best Tips to Prevent Blisters While Hiking
Stay comfortable on every hike.
Learn how to prevent blisters when hiking with expert tips on boots, socks, foot care, and blister plasters.
Don’t let painful blisters ruin your hiking trip. Preventing blisters when hiking is essential for comfort and safety on the trail, and with a few simple steps, you can reduce the risk.
Read on to discover the best tips for blister prevention while hiking!
What is a hiking blister?
A blister is a small pocket of fluid that forms under the skin, often caused by friction, heat, or moisture. They occur when the upper layer of skin is damaged and are especially common among hikers and outdoor enthusiasts.
How to prevent blisters from forming
Choose your footwear wisely
The most effective way to prevent blisters is to start with the proper hiking boots or shoes. Ensure your footwear fits properly—snug but not too tight—so it doesn’t rub against your skin. Your shoes/boots should allow for natural movement with enough room to wiggle your toes while still providing support for your ankles.
Break in Your Boots
One of the biggest mistakes is wearing brand-new boots on a long hike. Break them in first by wearing them at home or on short walks. This softens the material, prevents pressure points, and ensures a comfortable fit on the trail.
Manage Moisture
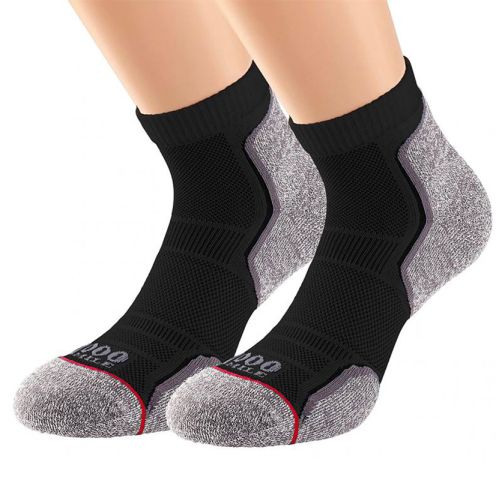
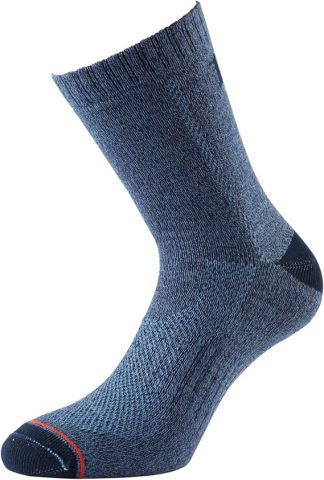
Moisture softens the skin, making it more prone to blisters. To reduce the risk, keep your feet as dry as possible. Invest in waterproof hiking boots for wet weather and choose moisture-wicking socks to draw sweat away from your skin. Carrying a spare pair of socks can also make a big difference on longer hikes.
Be Aware of Terrain
Rough or uneven terrain can increase friction inside your boots, putting extra pressure on your feet. This is where the fit of your hiking boots and socks becomes even more critical in preventing rubbing and skin irritation.
General Foot Care
Good foot care goes a long way in preventing blisters. Keep toenails trimmed to stop them from hitting the end of your boots. If calluses build up from regular hiking, file them down to prevent pressure points from forming. At home, walking barefoot can help stretch and strengthen your foot joints after long treks.
What is a Blister Plaster?
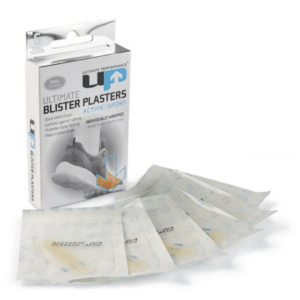 Blister plasters provide instant relief and offer long-lasting protection and comfort when applied to a hot spot. They are made from Hydrocolloid gels, which reduce pain and rubbing by absorbing excess fluid. The adhesive is designed to stay in place longer, securely attached to your affected area.
How to Apply a Blister Plaster
- Clean and dry the affected area thoroughly.
- Warm the blister plaster in your hands for a few minutes.
- Place it directly over the hot spot (common areas include the back of the heel, inside of the foot, or between the toes).
- Once applied, put your sock back on to help it stay secure.
- Leave the plaster in place for 24–48 hours to protect the area and prevent further irritation.
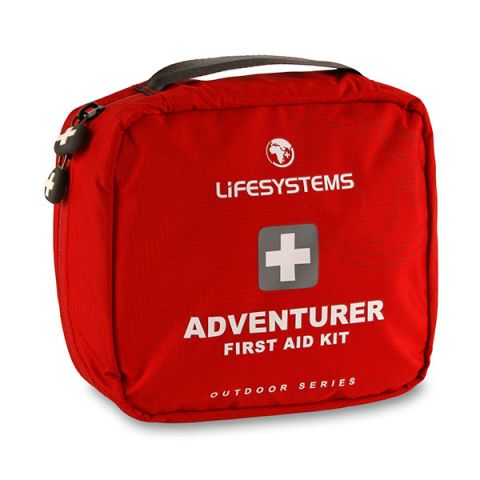
Shop our recommended blister plasters and first aid kits for your next adventure.
A final note from us
By following these steps, you can enjoy your hike without worrying about blisters. From hiking boots and technical socks to blister plasters, ensure you’re well-prepared before heading outdoors.
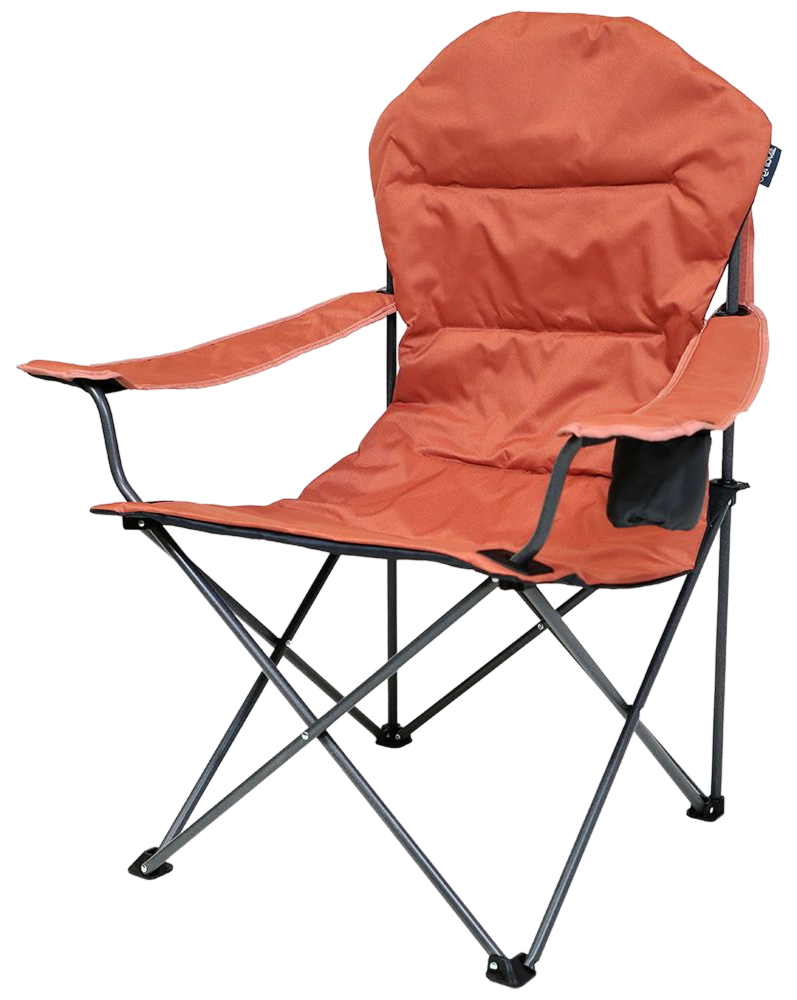
Explore all the walking and hiking essentials you need at Attwoolls—visit our camping superstore or shop online today.
![]()
![]()
![]()
![]()